


Today I am posting Part 2 of the CoffeeShop Fruit Still Life Texture Tutorial. You can read how I set up this shoot in Part 1. I am editing this image using the texture recipe from the Still Life Photography Pears post at Flypaper Textures, and I also edit it with my own textures (see below).

I am finally ready to add the Flypaper Textures. I followed their recipe almost exactly. I added the Catacomb Frieze texture in Overlay Blending mode, 100%.

I duplicated that layer and put it in Overlay, 46%.

I added the Ambergris texture in Overlay, 60%. I didn't need to remove any texture from the image in this case. My image was finished!
Mouse over to see the before:
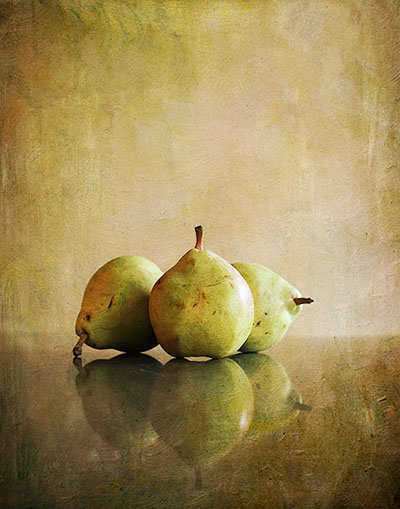

This was my first crop and I really wasn't happy with it. I prefer the extra space on top, but both images are nice. I also think the second version was a bit too reddish.

Here is a version of the edit using textures I have available for free on this blog. I used Painting Texture 2 at overlay 100%, Foamy Chocolate Milk at multiply 50%, and Foamy Chocolate Milk at overlay 50% (masked out the fruit some to keep them from blowing out). I love this edit too.
After this photo shoot I decided I wanted to create something more meaningful to our family. I have a few old metal cars my husband played with when he was a little boy, so I decided to shoot a series I titled "Fruit Truck". You can see the set-up in Part 1 of this tutorial with the truck and banana. Here are the final prints (I will print them separately, not in one storyboard as seen below). I am going to have them printed on 12x12 metal prints at Color Inc. and hang them in my kitchen.

I set the photo shoot up the same way, with manual settings of ISO 800, 37 mm, f/3.5, 1/25 seconds. I didn't move my camera or the car and simply switched out the fruit.

I opened the banana picture in Photoshop and cropped it to 12 x 12. Then I dragged the other three images on top, lining up the car (lower the opacity of the top photo so you can move it to its proper place). I grouped a levels adjustment layer to the pear truck photo because the pear's shadow darkened the car too much and I needed to bump midtones and highlights a bit.
Now I can turn on each layer, save as a jpgs and send them off for print. I can also easily edit them later if I want since it is only one file.
I hope you had fun with this tutorial! You can use any textures to follow along with this tutorial. If you want free ones please go visit Shadowhouse Creations or download the ones here on CoffeeShop.
Do you want to download my favorite CoffeeShop Actions or Design Elements in one convenient zipped file AND help support this blog? Just click here for my action pack or here for a download of some of my most popular design elements, storyboards, and textures.
For complete info on installing all of my actions, click here.


