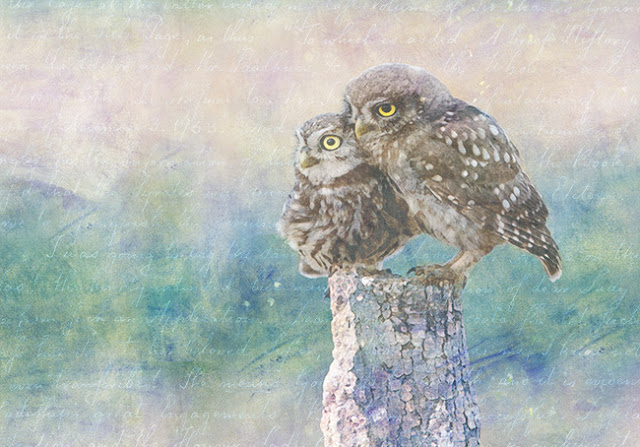
I wanted to show you how I edited this owl image using the free "Munch" textures I posted earlier this week. This type of design would make gorgeous greeting card, stickers or prints for your wall. And it is such an easy edit!
Download the "Munch" textures and "Lady Echlin" letters to follow along with this tutorial. You can even save your final edit as a layered .psd file and add different images to make a set of prints or cards. I will show you how I do this in my tutorial below.
Note: You can download both of the 5x7 prints I made in this tutorial here.
CoffeeShop "Painterly Texture Effect" Photoshop/PSE Tutorial:
Open your image. You can download this owl one here.
Duplicate the image by pressing Ctrl(Cmd in Mac)-J.
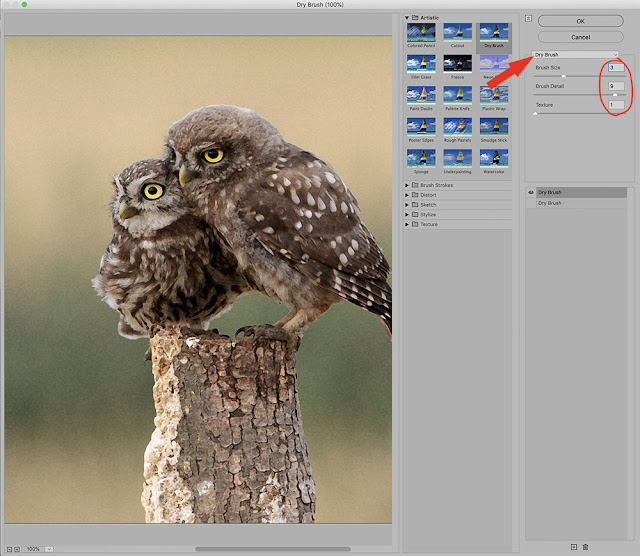
Go to the top menubar and click Filter<Filter Gallery and use the Dry Brush Filter on the top image.
I used Brush Size (3), Brush Detail (9), and Texture (1). If the effect is too much you can turn down the opacity of that layer.
Add the Munch 1 texture in Overlay blending mode.
I want to remove the blue tint from the owls but leave it on the rest of the image. To do this I clipped a Hue/Saturation layer to the Munch texture and set the Master Saturation to -50.
Fill the Hue/Saturation Mask with black and use a hard white brush at 100% opacity and paint over the owls.
Note: To see where you are painting, click the "\" key to make the masked area red. Click "\" again to remove the red tint.
As you can see, only the background and stump have the blue tint from the texture.
Add the Munch 4 texture in Soft Light on top. This slightly warms up the entire image while adding a small amount of additional texture.
Add the Lady Echlin 3a letter on top. Then invert it by clicking Ctrl(Cmd in Mac)-I.
Put the Echlin letter texture in Soft Light blending mode and use a hard black brush on the layer mask to remove it from the owls.
As a final step I like to soften the contrast of the original owl photo. To do this I added a Levels adjustment layer over the image and then increased the shadows and black Output slider until the image looked a little "hazy".
I am really happy with how this turned out! I think I would like to make a set of these for greeting cards.
The beauty of editing in Photoshop is that you can save your finished image with the layers and go back and add a different image to make a matching set of prints.
To create this bird edit I simply deleted the owl images and dragged in the bird image. I followed the same steps (and repainted the layer masks) and added one additional layer.
To change the texture color, clip another Hue/Saturation layer to the blue Munch 1 texture. Then adjust the Master sliders to taste. I set Hue (-23), Saturation (+10), and Lightness (-7).
I hope you enjoyed this little tutorial and would love to see your own edits on my Facebook page!
Download the high resolution 5x7 prints I made in this tutorial on this page.


