


One way I get inspiration is to visit the Flypaper blog where Jill and Paul post "recipes" for their personal edits using their textures and presets. Sometimes I will see a beautiful edited image on their blog and will use their recipe on one of my own images or an image I found on the internet.


Here is the original image.

I added the Azurite texture at Multiply, 40%. I masked out some of the texture over the main flower.

I copied that layer and put it in Linear Light, 18%. I masked out some of the texture over the main flower.

Then I added the April Frost texture at Hard light, 80%. I masked out some of the texture over the main flower. This is really pretty!

I wanted to add a hint of light coming from the top above the main flower. I made a new layer and selected a soft white brush at low opacity and clicked a few times on the area I wanted to add light. Then I adjusted the opacity of that layer. This is a very easy way to add subtle light to an image.


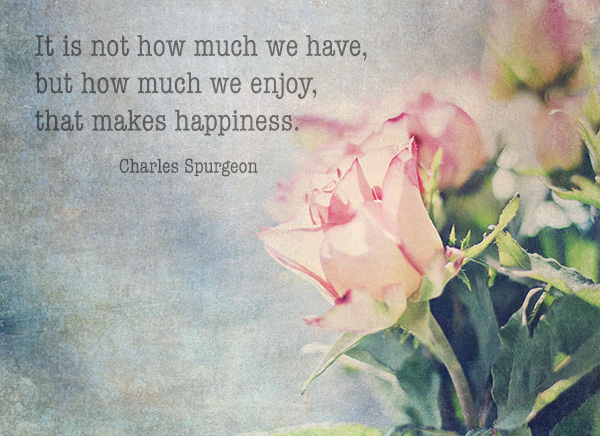
Then I decided to make a second version with a favorite quote. I ran my Aphrodite action on the image before adding the textures and threw away every layer except the Color Tint layer and set that layer at 80% opacity. Then I added all of the textures as seen above. Finally, I added the text in black and reduced the opacity so it would soften the effect.
I also reduced the "add light" layer slightly.
You can mouse over to see the before/after below if you are on a computer.
I hope you enjoyed this tutorial! If there is anything specific you would like to see me post on my blog please leave a comment below.
Do you want to download my favorite CoffeeShop PSE/Photoshop Actions and Lightroom Presets or Design Elements in one convenient zipped file AND help support this blog? Just click here for my action pack or here for a download of some of my most popular design elements, storyboards, and textures.
For complete info on installing all of my actions, click here.
Facebook | Pinterest | Twitter


