


Every professional photographer will tell you that it is best to get a perfect image "in-camera" so you don't have to resort to doing much editing. However, sometimes you have an opportunity to shoot a portrait that is important to you in less than ideal conditions. This is when Photoshop or PSE can rescue a quick snapshot image and make it "frame-worthy".

I have been to quite a few weddings as a guest and was able to shoot a quick photo of the bride. The image above reminds me of one of my quick snapshots (this photo is from Pixabay and can be found here if you want to edit along with my tutorial).
The bride is gorgeous and the setting isn't that bad, but the lighting/color is not optimal. The image also has many distracting elements and I don't think the bride stands out.
So Photoshop to the rescue, of course!

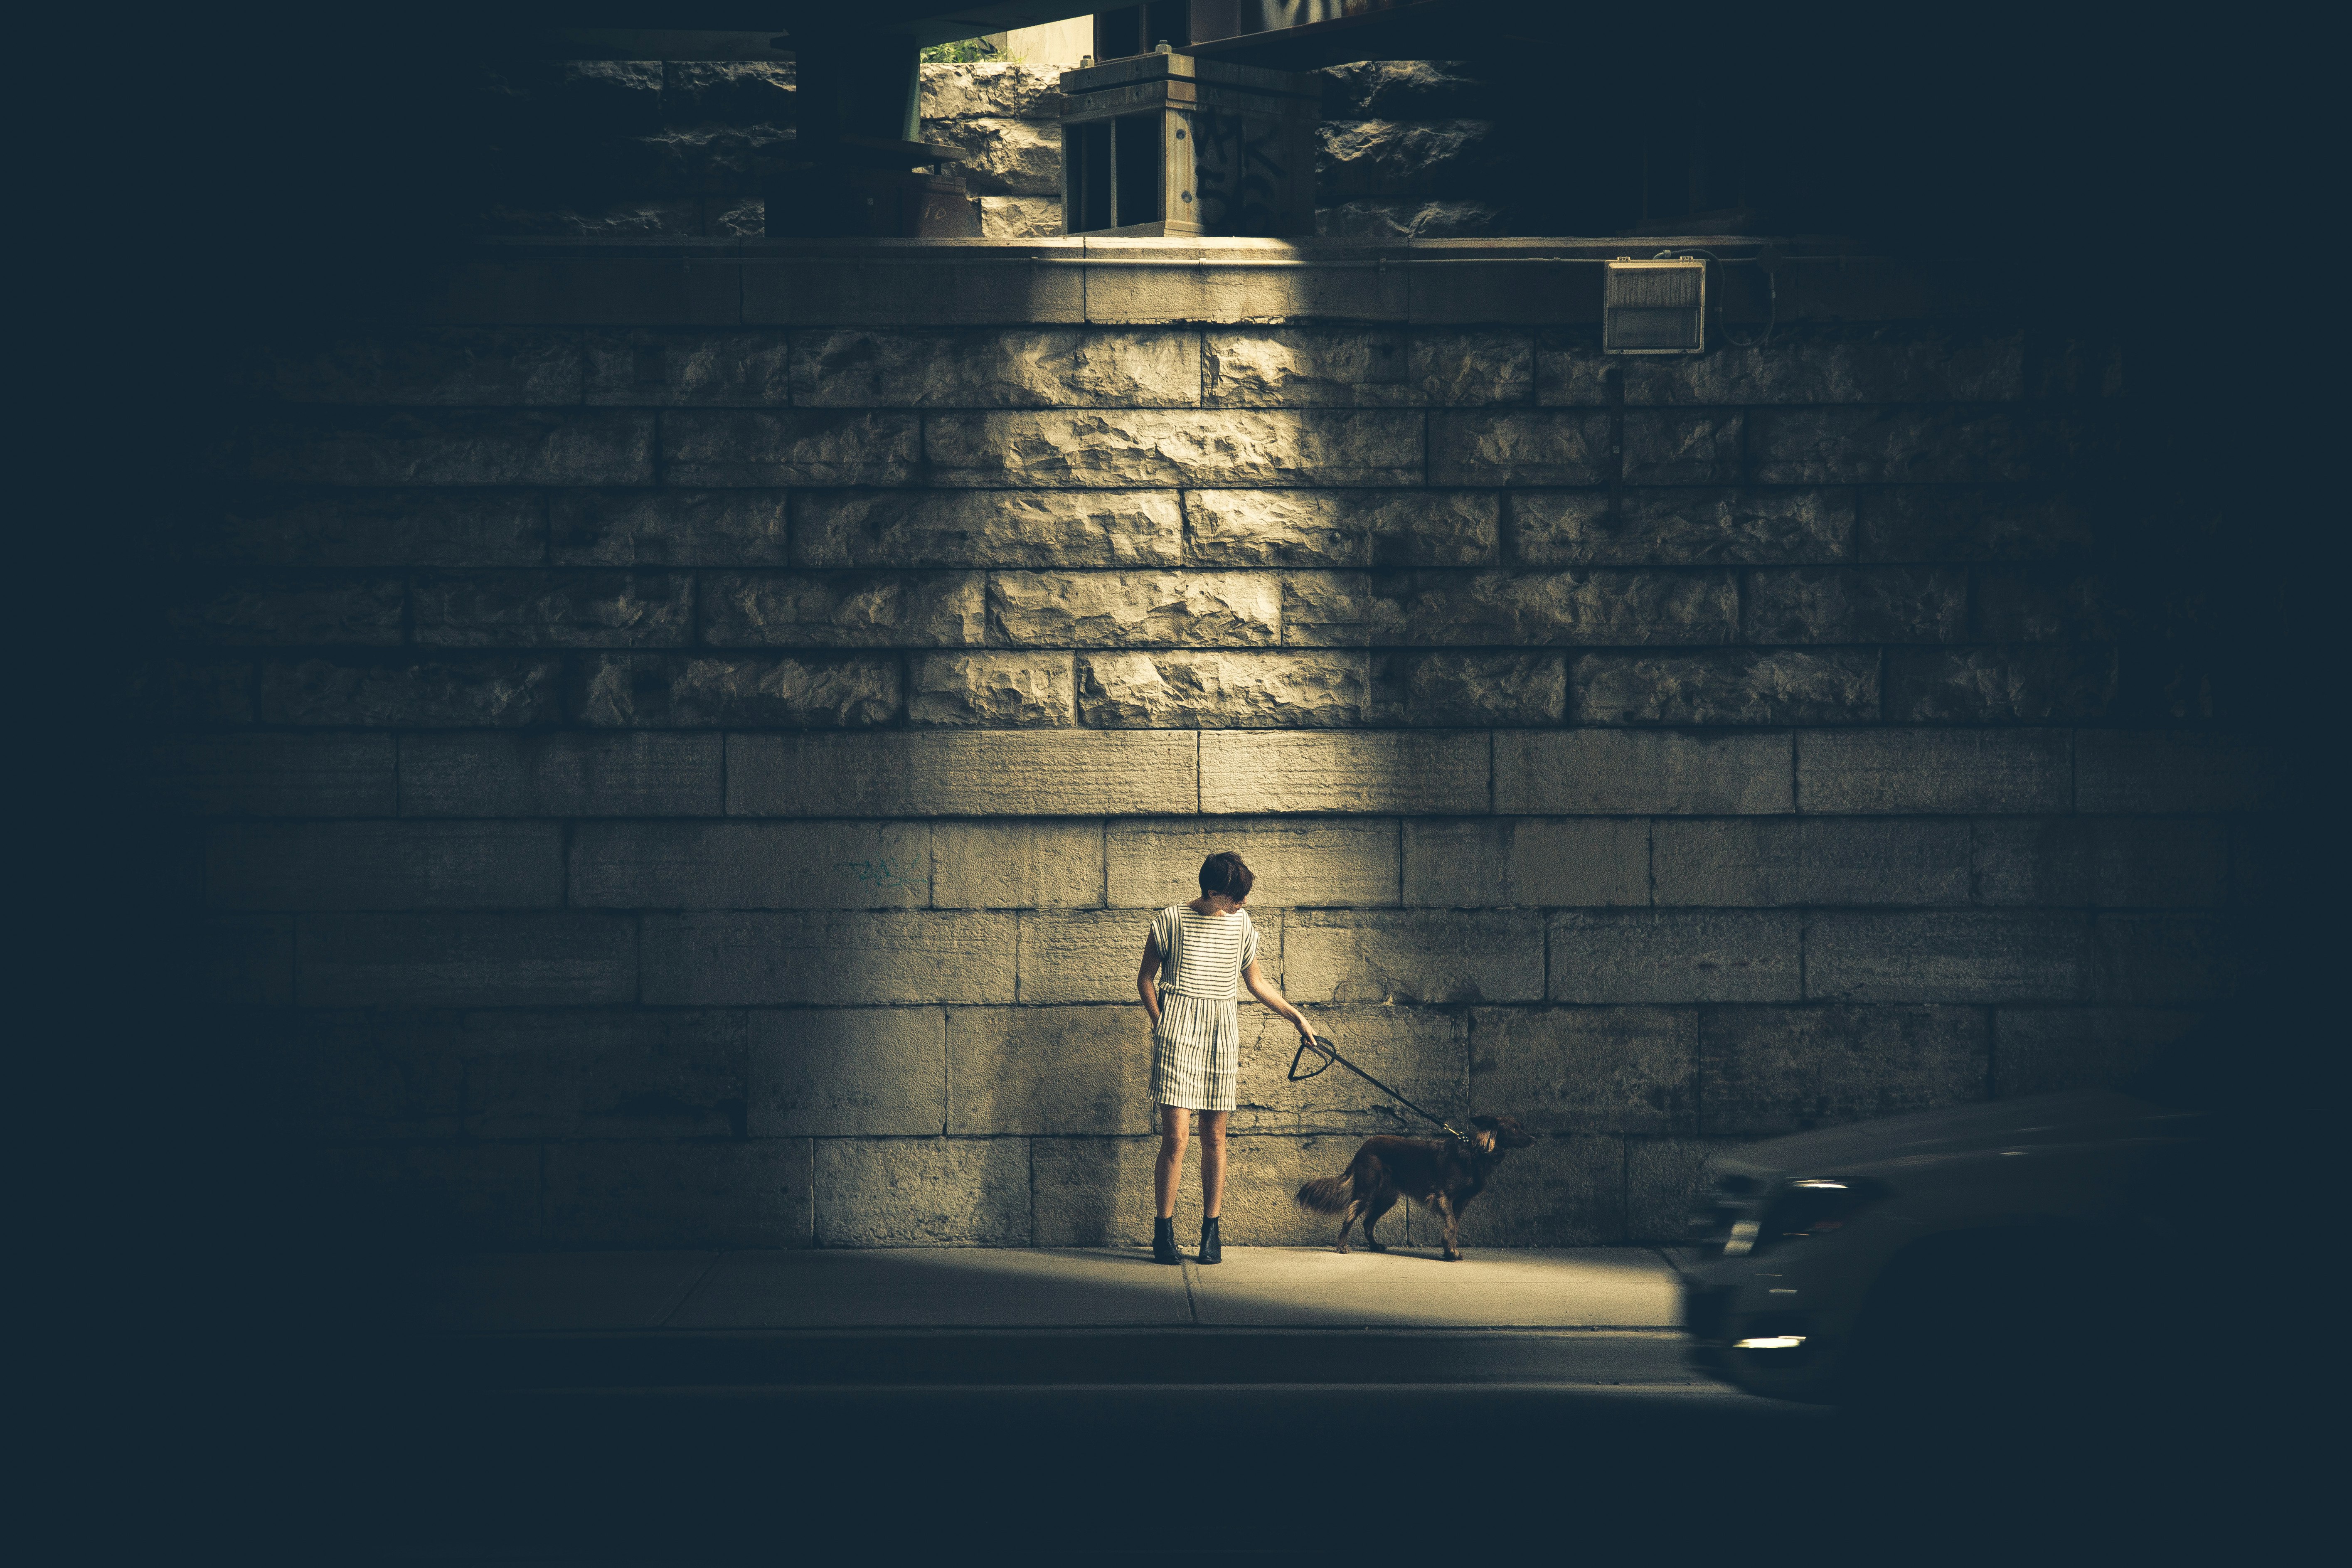
I was inspired by this beautiful photo on "Unsplash". The lighting is stunning, so I decided to try a similar effect on the bride image using Photoshop.
CoffeeShop "Spotlight Drama" Photoshop/PSE Action Tutorial:

1. Open your image and run the CoffeeShop "Spotlight Drama" action (download at the bottom of this post) in Photoshop or PSE. NOTE: This action can be used on any image, it is not just a "rescue" action. It can be gorgeous on a perfectly shot image. :-)
This is what my image looked like after the action finished running. I will need to paint on layer masks (layer mask tutorial) and adjust layer opacities to add drama to this image.

2. Add Light: Click on the layer mask of the Dramatic Darkness layer. Then use a black soft brush or the lasso tool with feathering to remove the dark effect off your portrait. In this edit I grabbed the lasso tool and clicked to select around the bride and feathered the selection. Then I filled the selection with black.

You can adjust the opacity of the Dramatic Darkness layer and I ended up dialing it up to 100%. This layer is a simple level adjustment layer, so you can open it up and fine-tune the settings under the curve for your own image. If you need additional darkness, make a copy of this layer.
I grabbed a soft low opacity black brush and removed some of the Dramatic Darkness layer from the beautiful windows. I wanted to retain some of the etchings.

3. Desaturate and Peachy Skin: I kept the Desaturate layer at 100% and used a soft low opacity black brush to paint back color onto her skin. Sometimes I completely turn off this layer because I want more color in my image.
I clicked on the Peachy Skin layer's mask and used a soft white 100% opacity brush to add some peachy glow to her skin and hair and adjusted the opacity.

4. Fix slanting columns: After I edited this image I realized the slanted-in columns to the left and right of the bride were driving me crazy. I flattened the image, made a copy of the background, and went to Edit, Transform, Skew (you can use other transform settings) and pulled out both top corners until the columns where fairly straight.
This made the bride a bit wider, so I then Free Transformed (Ctrl-T) and pulled in the slides just a bit without touching the vertical settings. In other words, I squeezed her a bit from the slides. This returned her to natural thin self and then I flattened and cropped the image.
Clyde left a comment below that he also slightly blurs the background in these types of images to get a 3D effect. I think that would be gorgeous! Thank for the editing tip!!!

Here is my before and after. I think this made a quite a dramatic difference on a snapshot. And I didn't even have to haul around a heavy light set. ;-)

This editing technique can be used on all types of images and can be more subtle. I used "Spotlight Drama" on this image from Pixabay.
I would love to see your before and afters using this action, so please post them on my Facebook page! Questions/comments can be left there or on the comment section of this post. I hope you enjoy playing with this new action. :-)

Jackie posted this before and after on my Facebook page. What a difference, I love the lighting in the after. Thank you Jackie for posting this!!!
Download the CoffeeShop "Spotlight Drama" Photoshop/PSE action. You can also download it here.
Do you want to download my favorite CoffeeShop PSE/Photoshop Actions and Lightroom Presets or Design Elements in one convenient zipped file AND help support this blog? Just click here for my action pack or here for a download of some of my most popular design elements, storyboards, and textures.
For complete info on installing all of my actions, click here.


