I first blogged about this edit on this post, and I asked you to leave a comment if you wanted me to work through this edit with you. Enough of you expressed an interest, so here it goes! I used free stock photos from Pixabay, a beautiful texture from Flypaper, and my own brush on this edit.
Sticky Wicket Texture from Flypaper's Metallic set
CoffeeShop Sunburst Brush
Stock photos of lamp post, fox, and bird
CoffeeShop Narnia Fantasy Art Photoshop/PSE Tutorial:
1. Cut out the fox, bird, and lamp post from the free stock photos. To do this, I opened each image and used the magic magnetic lasso to roughly select the items. Then I used the normal lasso tool and selected "add to selection" to add areas I missed and "remove from selection" to remove unwanted areas. Sometimes I make a quite and dirty selection by Ctrl-J the image background, adding a black layer mask, turning off the bottom background layer, and painting on the black layer mask with a white brush to add the item back. Once I am finished I save as a png with a transparent background.
2. Once my items for my image were cut-out with transparent backgrounds, I started working on the snowy background. I used the CoffeeShop Sunburst brush in white on a new layer above the background (Normal, 100% opacity). Adjust placement/size with Ctrl-T.
3. I adjusted the contest by adding a levels adjustment layer in soft light blending mode, 100% opacity. I played with the sliders under the curve and on the right Output Levels (see screenshot above) until I was happy with the effect.
4. I also made a copy of the original background, dragged it on top, and put it in soft light (47% opacity) to add additional contrast. I could have also just used a levels adjustment layer in soft light. This additional contrast is important as I am going to add some haze in later steps.
5. I wanted the sky to look snowy, so I added this beautiful Sticky Wicket texture from Flypaper on top. I desaturated it (Shift/Cntr/U). You would use any spotted texture for this effect or use my snow action or texture.
I put this layer in Overlay blending mode, 100% opacity.
6. I added a white to cream Gradient Map in soft light (94% opacity) to add some softness/whiteness to the image. I love how this is turning out!
7. I decided to add a bit of warmth (I was feeling too cold!), so I put a orange Photo Filter at 10% Density (checked Preserve Luminosity) in normal mode.
Now I can add my creatures!
8. I dragged all of my cut-outs to the image under the Flypaper texture layer, Ctrl-T them to fit, and grouped levels adjustment layer to each one to adjust the final contrast.
9. I wanted to add some light from the lamp post, so I made a new layer above the lamp post cut-out, added the same sunburst brush in white, and then added a layer mask. I removed the brush off the black of the lamp post to make the lamp post really stick out. (I turned off the other layers in this screenshot so you could see the light).
Turn everything back on and the image is finished and you are in Narnia on a cold winter day. As you can see, there were quite a few steps involved, but I had so much fun creating it!
Even if you don't plan on doing an snowy day edit, I hope you enjoyed learning some new editing techniques.
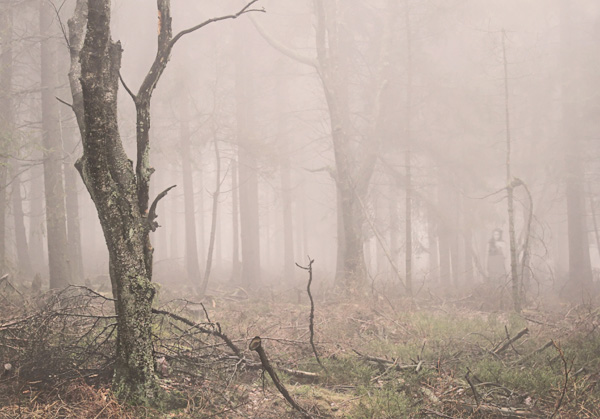
Here is another one I did the other day. I call it "Haunted Forest". Mouse over to see the before image.

Do you want to download my favorite CoffeeShop PSE/Photoshop Actions and Lightroom Presets or Design Elements in one convenient zipped file AND help support this blog? Just click here for my action pack or here for a download of some of my most popular design elements, storyboards, and textures.
For complete info on installing all of my actions, click here.


