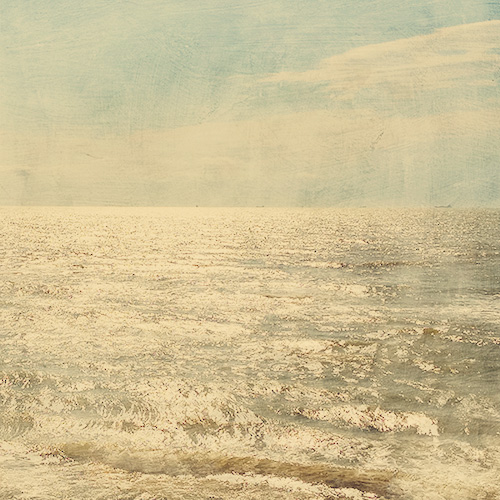
Today I wanted to share a texture tutorial using some of the free textures on my blog. Part 2 will demonstrate how to create your own fantasy art images. I will even include a few free design elements to get you started.
CoffeeShop Velvet Truffle Fantasy Texture Tutorial:
1. I am starting with this simple beach scene. This was photographed at Galveston Island on Murdochs this summer using my iphone and an HDR app. Like all iphone photos, this is fairly low resolution, but the beauty of adding textures is you can often start with lower resolution images since you are creating layered art, not just a photograph. I have already printed a regular color edit of this photo, I like it "as is" too. :-)
2. I cropped the image for this edit.
3. I ran one of my favorite beach actions, CoffeeShop Velvet Truffle, and didn't adjust the layers.
4. I added CoffeeShop Painting Texture 2 just above the background and put this layer in soft light blending mode, 100% opacity. This adds a nice painterly texture. If you want more texture, put this layer in overlay blending mode and/or duplicate the layer (Ctrl-J) and put that one in soft or overlay blending mode.
5. I wanted to add some additional color and texture, so I used the CoffeeShop Toast texture from the CoffeeShop Baking with Mom texture set. I put this texture just above the painting texture and set the blending mode to soft light, 100%.
6. I duplicated this layer to add more brightness and color, but I found it brightened the sky more than I wanted. So I added a layer mask to the second Toast layer. I clicked on this layer mask to select it, and then grabbed the retangular marquee tool (M) to select the sky. I then feathered the selection slightly.
7. I filled the selection with black. Make sure the layer mask is selected, not the texture itself.
8. Now the sky is perfect and I am happy with the texture treatment. Next tutorial will introduce adding fantasy elements to this ocean scene. Mouse over to see the before/after on the image below. This one has the painting texture duplicated and in soft light to add more texture. I really like this version. Please go read Part 2 to find out how I added the design elements (plus a free digital download set!).

Do you want to download my favorite CoffeeShop Actions or Design Elements in one convenient zipped file AND help support this blog? Just click here for my action pack or here for a download of some of my most popular design elements, storyboards, and textures.
For complete info on installing all of my actions, click here.


