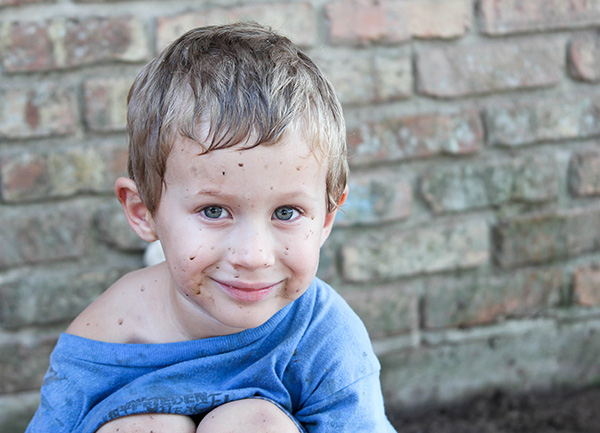
This tutorial is in two parts, with today's demonstrating how I applied the texture to this portrait of Imp. The second part
will show how I used my newest free retouching action, CoffeeShop Two Minute Miracle, on Imp to enhance his eyes and skin. Click here to download the free action and read Part 2 of this tutorial.
I used a beautiful texture called Birdcage B&W from the Chasing Dreams Mishmosh Texture set in this edit. Colleen sent me the Mishmosh set and I am in love. There are over 100 textures and I haven't found one that was not stunning. Right now Colleen is offering a 25% discount off this beautiful texture set on her FaceBook page. Please go "Like" Chasing Dreams and click on Fan Discounts to get the coupon code. Thank you Colleen!
You can mouse over the image below to see the before/after (I will post a tutorial later showing how you can get this effect on your blog). Today I will add the texture, and on my next post I will use my newest free retouching action, CoffeeShop Two Minute Miracle, to enhance his eyes and skin. And I know, I should have cloned out that white thing behind his right ear before making screenshots for this tutorial.

Part 1:
1. Open your image and the texture of your choice. I used Birdcage B&W from the Mishmosh set on this image.
2. Click V to get the move tool and grab, move, and drop the texture on top of your image. Ctrl-T to free transform the texture to cover your entire image. If you have PSE you might have to uncheck "constrain proportions" on top to make the texture fit.
3. I put the texture layer in soft light blending mode. You can use vivid light, overlay, multiply, screen, etc. I use soft light 90% of the time. You can also duplicate the texture layer or add a few more textures.
4. I wanted to add some custom color to this texture, so I added a color fill adjustment layer on top and picked a honey color. You can use any color you want, and it is easy to change at any time. This technique also works on any colored texture and allows you to get a custom look.
5. Group the color fill adjustment layer to the texture layer and put the color fill layer in Color blending mode. If you want to see what it looks like with a different color, simply click on the little color box and make changes. Adjust the opacity to taste.
6. Now I am going to remove the texture from Imp. There are so many ways to do this (I have many texture tutorials if you click on my Tutorial link on top of this page), and I am going to show you a quick method today.
I added a layer mask to the texture layer. If you have PSE6-PSE8 you can download my free layer mask action. If you are new to layer masks please read my layer mask tutorial. Once you figure them out you won't know how you lived without them.
7. Click B to get the brush tool, make it soft, and make your foreground color black (D). I like to add a color mask to my image so I can see where I am removing the texture. Just click "alt-shift" on the layer mask by the texture (or backslash, thanks Tim!).
You won't see any changes until you start painting on your image with the black brush. When you start painting on the image, you will see it turn red. If it is not red, just double click on the layer mask and you can change the color. Remember, if you see red, that is where you are masking (removing) the texture.
Paint out the parts you don't want texture (skin and such) and zoom in to make sure you aren't crossing over the lines. If you make a mistake, just click X (makes your black brush white), paint out the area you want to remove, then click X to make your brush black again. When you are finished, alt-shift on the layer mask to remove the red.
8. The texture is now removed off Imp and the first part of this tutorial is finished!
On my next post I will show you how I used CoffeeShop Two Minute Miracle to enhance his eyes and skin. The action will also be available as a free download so you can follow along.
Want all of my favorite CoffeeShop Actions or Design Elements in one simple download AND help support this blog? Just click here for my action pack or here for a download of some of my most popular design elements, storyboards, and textures.


