

I have been wanting to post before/after images using the mouse-over technique on my blog (dangle your mouse over the image below and it will "magically" change to the after image), however I had not found an easy way to do it. Finally I figured out a simple method that I wanted to share with you. This effect should work in all computer browsers and is incredibly easy.
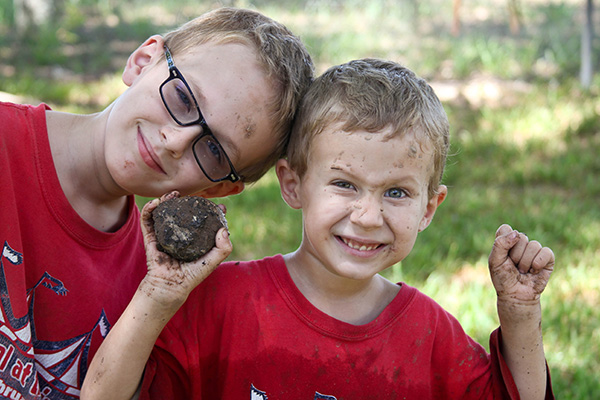
I used the CoffeeShop ButterScotch Vintage action on this image, no adjustments necessary. I think this is my favorite tinted action.
Copy this code and paste it in NotePad or Text Edit. If you paste it in Word or Open Office, make sure there is no weird editing going on (extra spaces, tabs, etc.).
<a href="URL where you want people to go if they click on your image"><img src="First Image URL" onmouseover="this.src='Second Image URL'" onmouseout="this.src='First Image URL'" /></a>
Replace the "URL where you want people to go if they click on your image" with any website, blog or page address you want people directed to if they actually click rather than dangle over your image. I linked this image to my blog.
Upload two images that are the same size to your favorite hosting site (I love using Picasa) and grab the direct link URL's. This is the web address that goes directly to each image.
Replace 'First Image URL' in both places in the code with the URL of your first image. Replace 'Second Image URL' with the URL of your second image. Don't forget the '' around each URL and don't add extra spaces. You have to link the first image twice, the second only once.
Your code might look something like this:
<a href="http://www.thecoffeeshopblog.com/"><img onmouseout="this.src='https://lh5.googleusercontent.com/before.jpg'" onmouseover="this.src='https://lh5.googleusercontent.com/after.jpg'" src="https://lh5.googleusercontent.com/before.jpg" /></a>
Once you have added the four URL links, just paste the code in the Edit HTML in your blog post. Now when readers hold their mouse over your "before" image, they should see it magically change to the "after".
Easy, right?
Want all of my favorite CoffeeShop Actions or Design Elements in one simple download AND help support this blog? Just click here for my action pack or here for a download of some of my most popular design elements, storyboards, and textures.


