

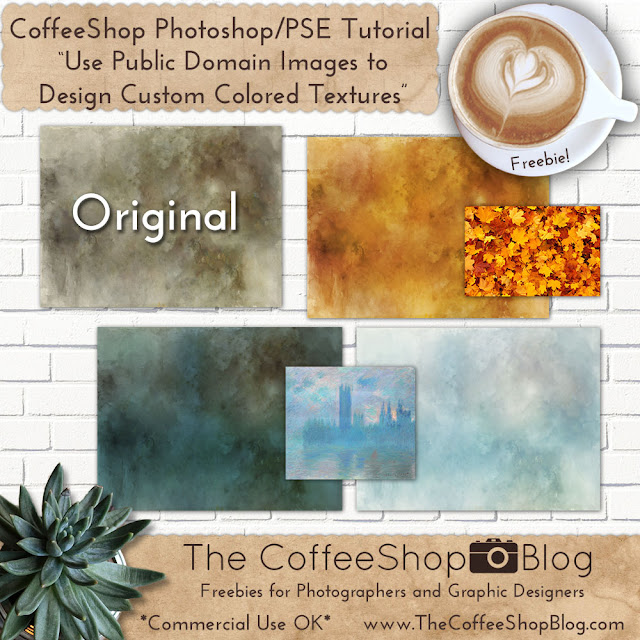
So many times I love a texture but I don't love the texture's color. I often will just apply a B&W version so I won't have to deal with an unwanted color tint.
However, there is an easy editing trick to get your own gorgeous custom color/contrast on any texture using a stock or public domain photo or art images. You can actually use any screenshot image from your computer since you are going to completely blur it until it is unrecognizable.
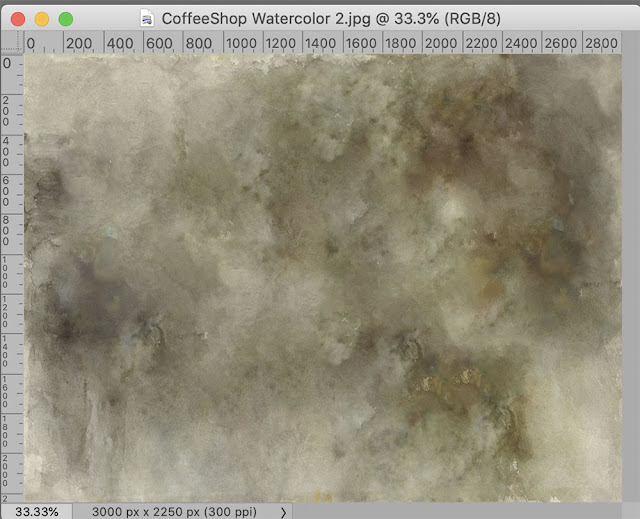
Today I will show you the variety of custom textures I can get from my brown watercolor texture. I actually wrote this tutorial because I wanted to make a fall-inspired watercolor texture for that set and I was inspired by all of the fall leave stock images.
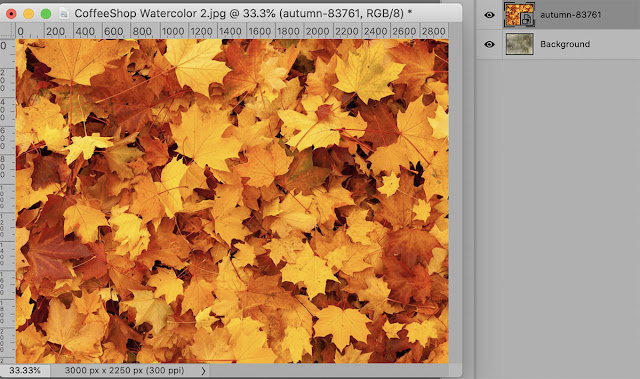
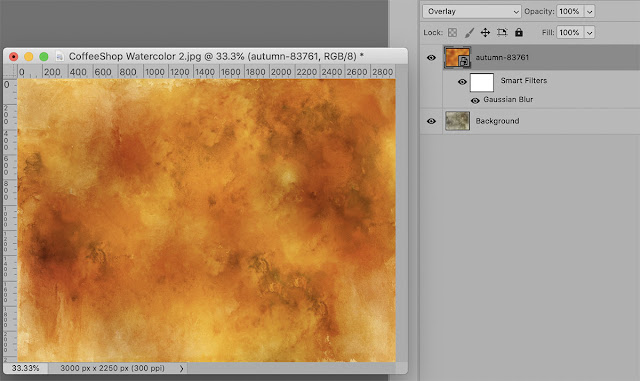
Place this autumn leaf image on top and stretch it to cover the entire image.
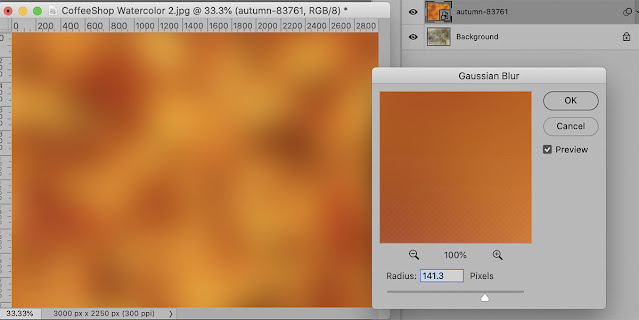
Go to the top menubar and click Filter<Blur<Gaussian Blur and add enough blur to soften the image as seen below. Don't go too far, you don't want it one single color.
Try this layer in Overlay blending mode.
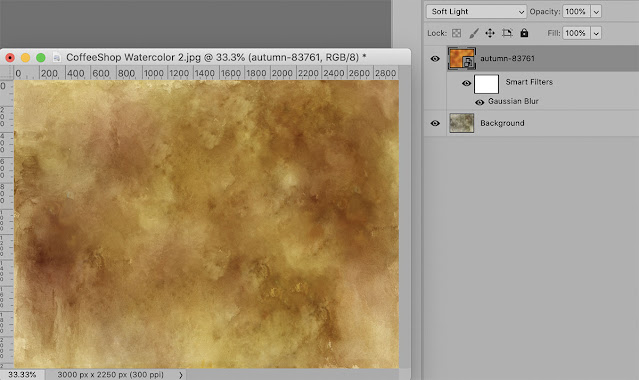
Soft Light is quite lovely.
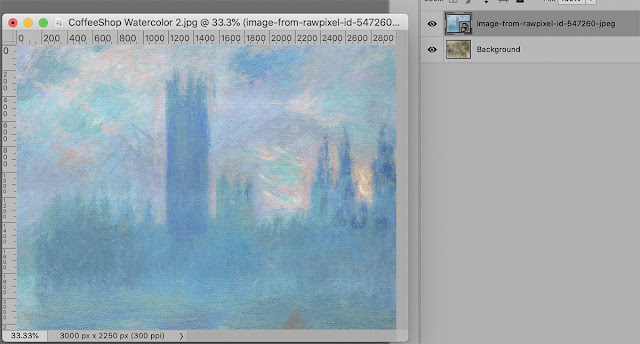
You don't have to limit yourself to photos. I used this Monet painting in this example.
Blur the image.
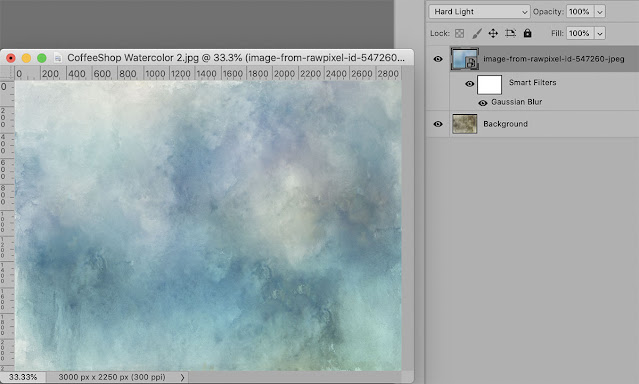
Hard light blending mode is gorgeous!
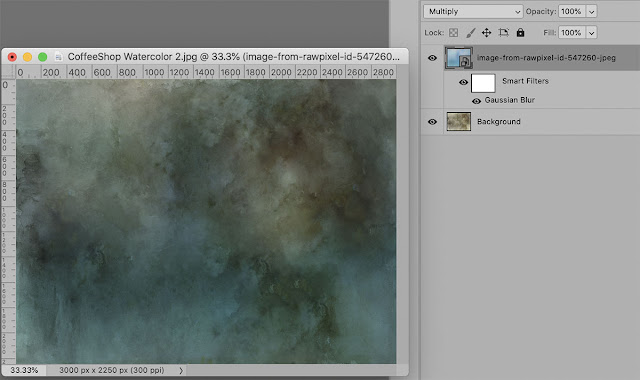
I like the dark moody ambiance using Multiply blending mode. This would be great for Halloween designs. You can almost see a moon surrounded by storm clouds in the upper right.
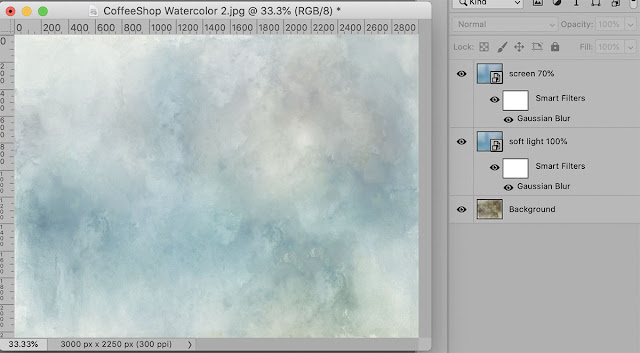
And if I want a soft pastel I can use two copies, Soft Light 100% and then Screen 70%.
Do you want to download all of my favorite CoffeeShop PSE/Photoshop Actions (including exclusive ones not found anywhere for free), Textures, Papers, Design Elements, and Lightroom Presets in one convenient zipped file AND help support this blog? Just click here for my CoffeeShop Mega Download Pack!


