


This is Part 2 of a CoffeeShop Tutorial on adding a sunburst effect to your images. Please go read CoffeeShop Sunburst Brushes and Tutorial Part 1 and download the free brushes.
Today I am going to show you how I went from the "before" to "after" using the Sunburst brushes and Butterscotch Vintage action.
Sunburst Tutorial

Open your image.

Run CoffeeShop Butterscotch Vintage action. This is my favorite action of all time. I reduced the Contrast Boost to 50% and raised the Desaturate layer a tiny bit.

I made a new layer above Contrast Boost and selected B for brush and selected the Sunburst 2 brush in white. I then clicked on the new layer.

I always blur the brush layer to make it more realistic. I make sure I have the sunburst layer selected and use Gaussian Blur and adjust it to taste.

I also like to adjust the placement of the brush after adding it, so I click Ctrl-T for free transform and I pulled the brush out.

You can use a colored brush when you add the starburst, but I prefer to add color layers. In this case I added an orange Photo Filter layer above the sunburst (you can see the settings above). I didn't group it with the Sunburst layer because I wanted it to color the entire image.

I also wanted to add some red to my image. In this case I added a Levels adjustment layer, set it to Red, and then moved up the gamma (mid tones) slider.
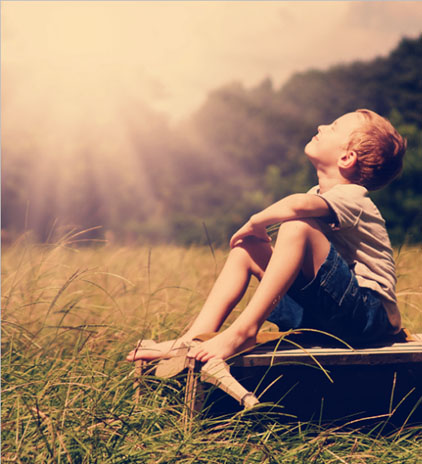
Here is the after (mouse over for the before).
Do you want to download my favorite CoffeeShop Actions or Design Elements in one convenient zipped file AND help support this blog? Just click here for my action pack or here for a download of some of my most popular design elements, storyboards, and textures.
For complete info on installing all of my actions, click here.


