

This tutorial works in both Photoshop and Photoshop Elements.
1. If you have Photoshop, then add a curves adjustment layer with a slight S-curve to adjust contrast, then flatten your image.
2. Lighten Layer: I then added a Levels adjustment layer and changed the numbers under the curve to 5, 1.14, 245 to brighten the image a bit more and put the opacity of this layer at 50%.
3. Creamy Layer: Ctrl-J (copy) the background. Filter, Other, High Pass (25). Ctrl-I to invert the layer, put layer in soft light blending mode and adjust opacity to 60%. Add layer mask to mask out eyes or anything else you want sharp.
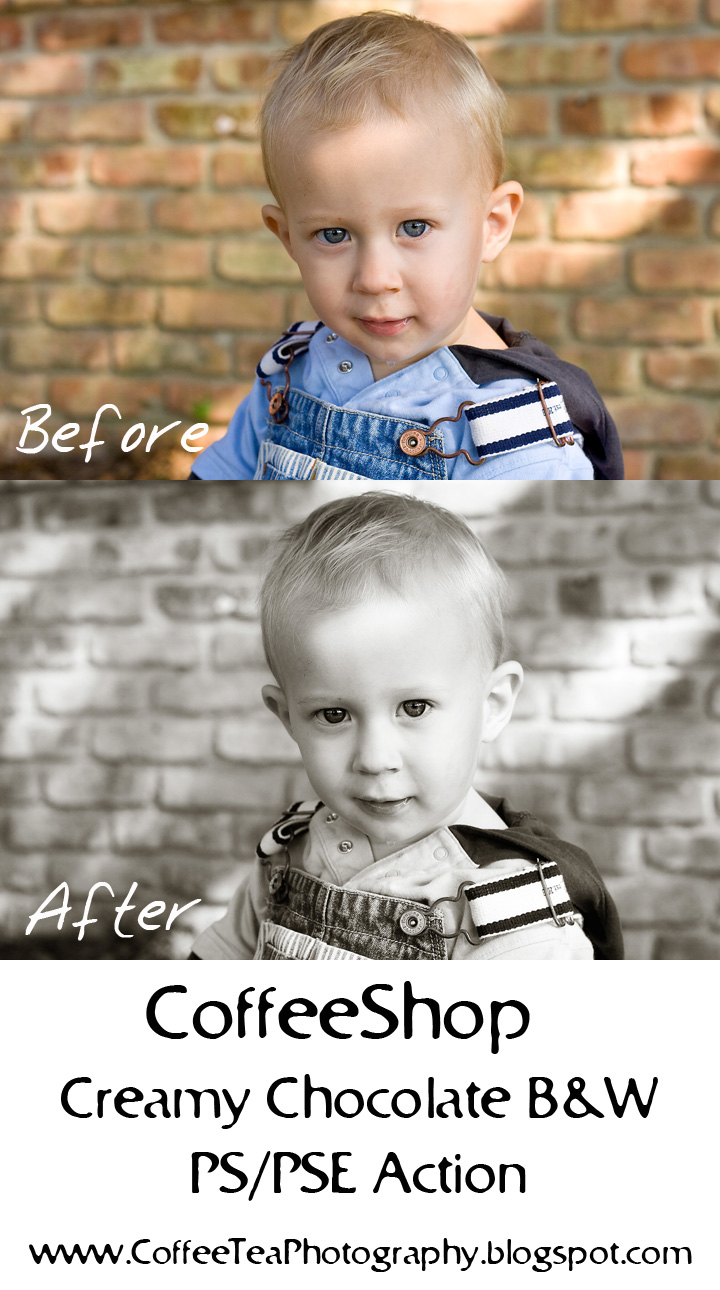
4. Chocolate Layer: Foreground color dark brown hex#492b05, Background color light brown hex#fdf4e6 . Gradient Map adjustment layer with these colors, soft light blending mode, 70% opacity.
5. B&W Layer: Black to white Gradient Map adjustment layer to turn the image B&W, put this UNDER the Chocolate layer.
6. Drag Lighten layer just above the Background. The order of layers should be Background, Lighten, Creamy, B&W, and Chocolate.
These colors and opacity percentages are only suggestions and should be adjusted for each image. Turn off Creamy layer if you don't want to use it. Change the Chocolate layer to normal blending mode for a cool vintage look. Play around and get your own distinct look.
Hope you guys enjoyed this little tutorial. I am going to start writing up all of my actions so keep on visiting if you want to see "CoffeeShop UnWrapped"! Hope you all had a great weekend and thank you once again for visiting CoffeeShop!!!


