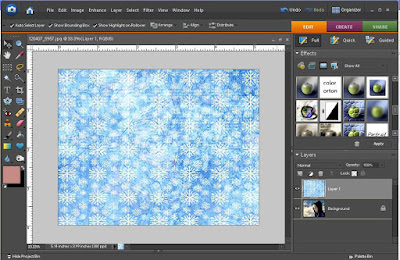
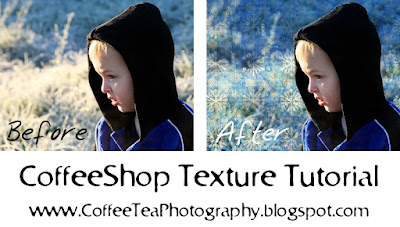
 Here is the CoffeeShop Texture Tutorial. Adding textures to images is very easy. In this case I used the CoffeeShop blue snowflake texture here , but you can find free textures all over the web. I love Flickr and Deviantart . You can also use digital scrapbooking paper, Photoshop patterns, brushes, or use your own photo of a texture. The sky is the limit in this type of art.
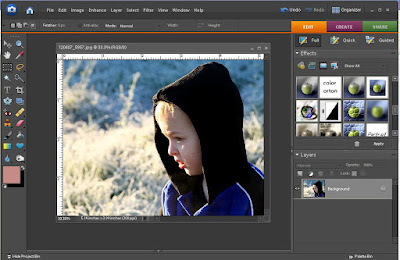 Open your image.[...]
 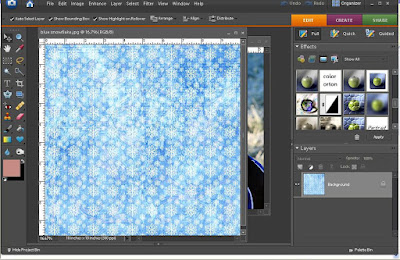 Open your texture.
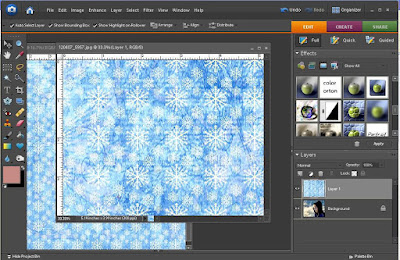 Select the move tool and move your texture on top of your image.
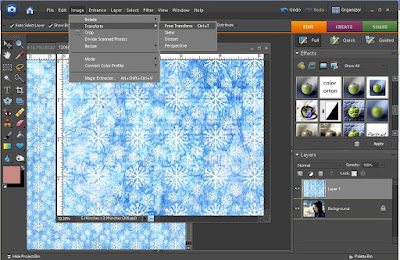
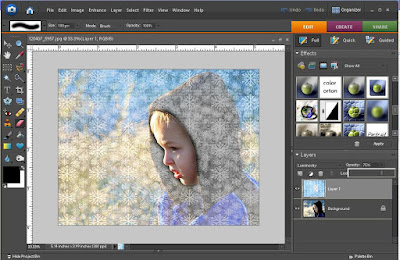
Ctrl-T or Image, transform, free transform to transform your image. Adjust the size to taste. If your texture is so huge you can't see the drag bars, then change the percent size on the top. Once you have the texture the way you want it, click on the red check.
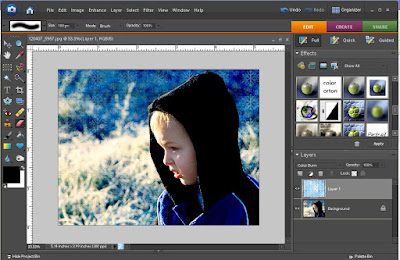
 Now it is all about blending modes on this texture layer. This is multiply. In this image I don't want the texture to show up on his face, so I need to remove it. There are three main ways to do this.
 Probably the easiest way is to select your erasure tool and erase the texture from the skin as I did here. Make sure that you are erasing on the texture layer. The only way to undo this is edit, undo. I usually prefer using layer masks so I can make changes easily at any time without having to undo any of my work.
 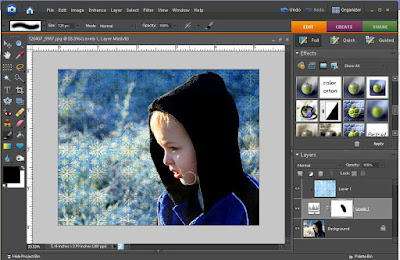 Another way is to add a layer mask to your texture. In Photoshop, just click the little "add a layer mask" icon on the bottom of your layers pane. In Elements you can use a layer mask action like the CoffeeShop Layer Mask or plug-in OR you can add a levels adjustment layer ( CoffeeShop Layer Mask Tutorial ), make no changes, drag it under the texture layer, and then Ctrl-G click on the texture layer to group it with the levels adjustment layer, and use the levels mask. Select a soft black brush and click on the mask to select it, then paint over parts of the image you wish to remove the texture. You can lower the opacity of your brush and just remove part of the texture. If you make a mistake, switch to a white brush and paint over the area.
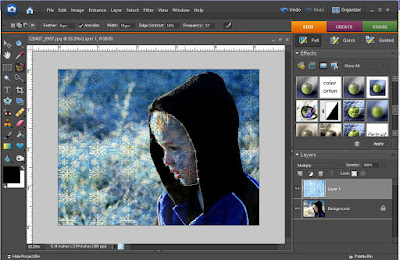 Finally, there are times you want to retain the color of the texture, but remove the actual texture from part of an image. In this case use the lasso tool to select the skin in the TEXTURE layer.
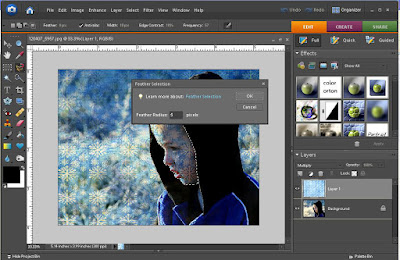 Feather it slightly.
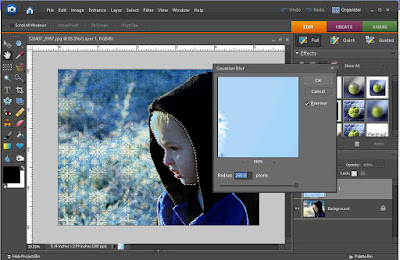 Then Gaussian blur with maximum setting. This removes all of the texture, leaving the color. Ctrl-D to remove the selection. In this case I am not loving it as I don't want him to look like a smurf. So I am going to change the texture color.
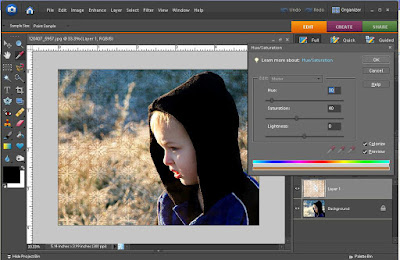 There are so many ways to do this, I will show you two. With the texture layer selected, go to enhance, adjust color (PSE), hue/saturation. Click colorize and move the hue and saturation sliders to taste.
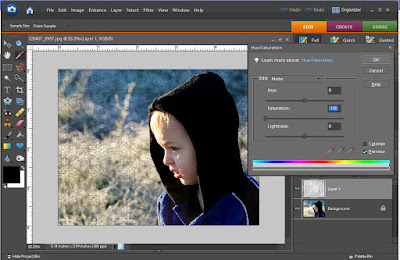 You can also remove all color so your image's original color will remain intact. In that case don't select colorize, and move your saturation slider down to -100.
You can also do a levels or curves adjustment on your texture to improve color and contrast. Basically, edit your texture as if it is a photo.
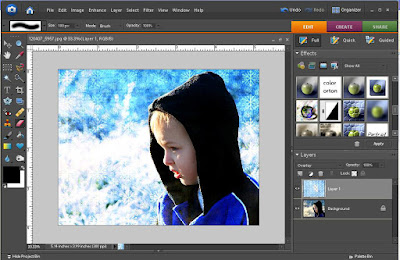 Now lets play with some different blending modes. Here is overlay.
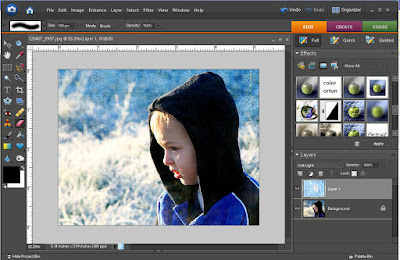 Soft light blending mode is always very subtle.
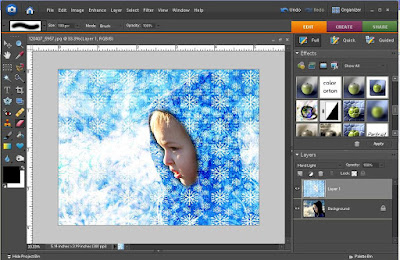 Now we will try hard light blending mode. Wow, this is pretty dramatic. Why don't we lower the opacity of that layer.
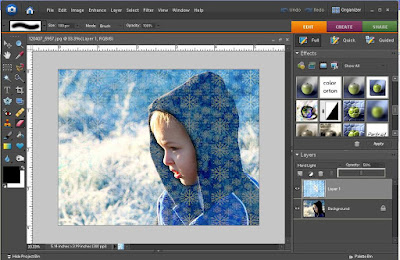 Here is hard light with 50% opacity.
 Now lets play with some different blending modes. Here is overlay.
 Soft light blending mode is always very subtle.
 Now we will try hard light blending mode. Wow, this is pretty dramatic. Why don't we lower the opacity of that layer.
 Here is hard light with 50% opacity.
Basically, for every image it is best to play with the blending modes and opacity until you get the look that you want. There is no set way to do it, but usually people use multiply, soft light, and overlay the most. You can also use several textures on one image. Don't be afraid to play and have fun!
OK, things to come to the CoffeeShop! I have finished the Attic Vintage action, so it will be up in a few days. I also will be releasing the White Chocolate Latte action set shortly. I think you will love this action, it is so cool! And I am also working on a B&W action set that will work in PSE also. I will have a few more tutorials like making "distressed" paper. And I will put out more papers/patterns/templates as the inspiration hits me! Rita


