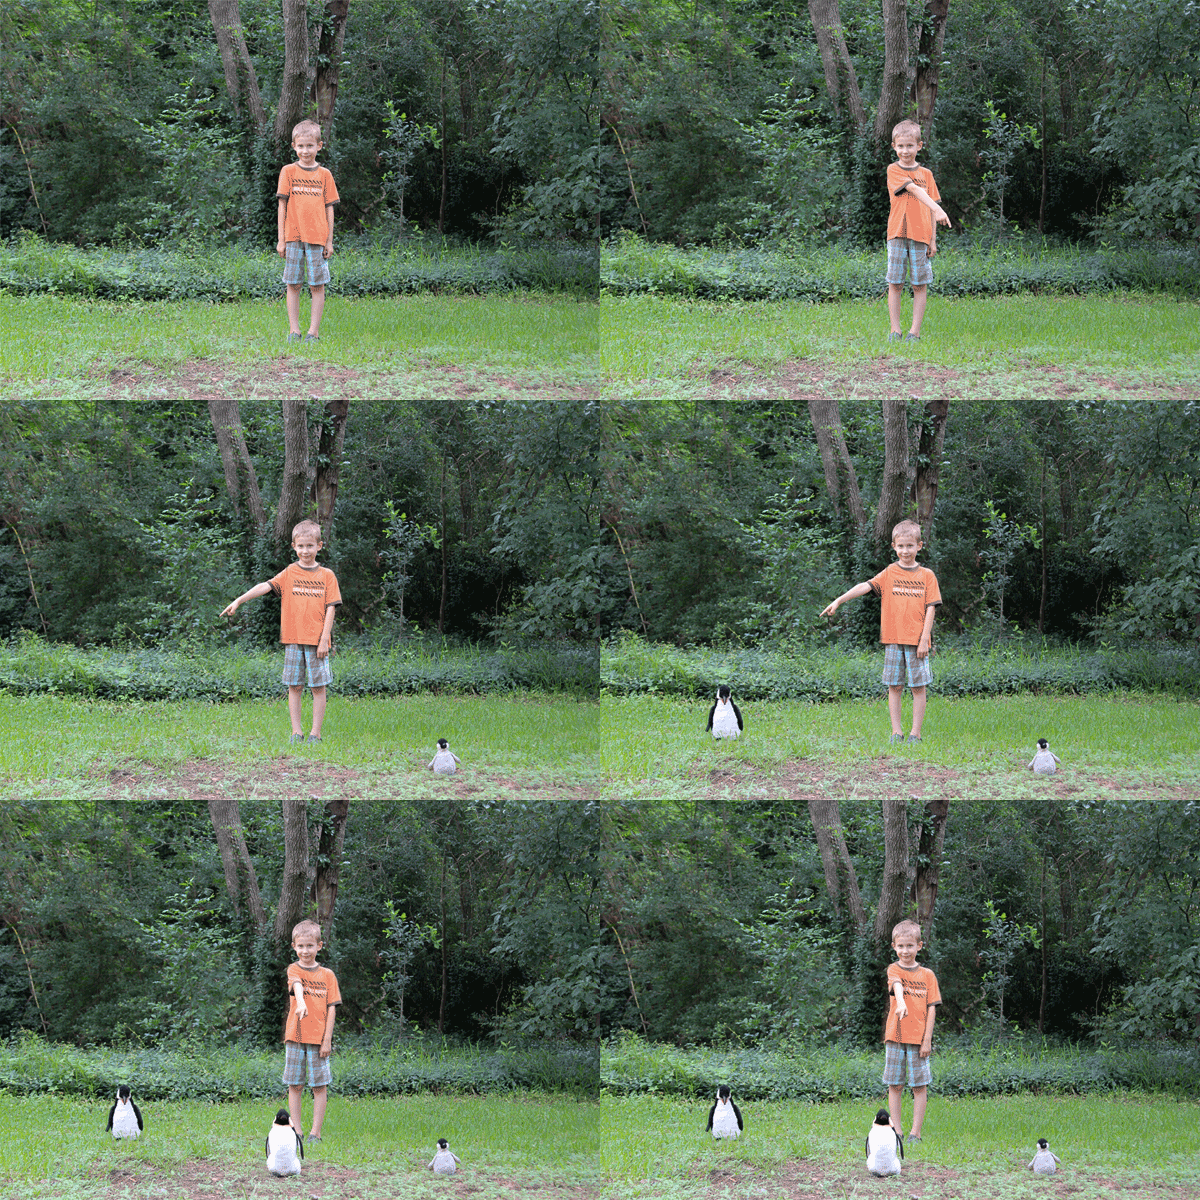
Today I wanted to show you how I create simple animated Gifs in Photoshop and PSE. We have seen these all over the web, and they can be really cool (or annoy the heck out of you). ;-) It is time for you to learn how to make your own animated Gifs.
When many people think of animated Gifs they think of moving photos like the one above of Imp and his little penguins. And yes, Duke and I had a blast creating the "Magical Penguin Show". But animated Gifs are also great for logos, website buttons, and header animation. Today I wanted to show you one way to make an animated logo Gif in both Photoshop and PSE.
If you want to play along, download the image used in this tutorial here.
Making Animated Gifs in Photoshop (PSE instructions below):
I put all three images in one file (layers) and turned off all layers but the one I want to show up first in the animation.
2. Go to Window, Animation.
3. The animation pane should open up and be on the bottom of Photoshop. The first frame will be the layer you have turned on. Click on the little paper icon on the bottom of the animation pane to duplicate the first layer. Then turn on the next layer for the animation. It will show up as the second frame.
4. Continue to hit the paper icon and turn on the next frame until all of your layers are added. You can then change the order or delete selected frames. As you can see in the screenshot above, I have added all three layers.
5. You can adjust how long each frame will display with the pull-down menubar. I set these frames to 1 sec. Make sure the looping is set to "Forever". To see the animation, click on the "play" button.
6. Once your animation is perfect, go to File, Save for Web & Devices.
7. I won't go into great detail about all of the settings on this page, but a few things to consider are the Gif size and Dither. Larger Gif sizes (up to 256) increase the resolution but also increase the file size. They also won't run as well on slow internet connections.
If you are creating a photo Gif, you probably should use 128-256 Colors and select Dither for smoother color gradients. This will increase the file size but your image will look smoother. If you have a simple logo as I do in this tutorial, then you can use fewer colors and click No Dither. Keep the final image size as small as possible.
Click Save and you are done! You can right click on your animated Gif and open it in your web browser to see it in action. Then upload it to your site like any other image.
Making Animated Gifs in PSE (Super easy!!!):
1. Same as the first step in Photoshop, create the image you wish to animate (or download my image here). Make sure PSE is in the Expert mode. Then add all of the images to one file in layers in the order in which you wish to animate them (bottom is first). In PSE you need to turn on all the layers you wish to add to the animation.
2. Once all of your layers are turned on, then go to File, Save for Web.
3. Click "Animate" and set up the Animation (Forever and the Frame Delay). Decide the type of Gif you wish to save the file (see the Photoshop Tutorial, #7 above for more details). Save and you are done!
I hope you have fun creating your own animated Gifs.
Do you want to download my favorite CoffeeShop PSE/Photoshop Actions and Lightroom Presets or Design Elements in one convenient zipped file AND help support this blog? Just click here for my action pack or here for a download of some of my most popular design elements, storyboards, and textures.


