


I found this lovely image at Pixabay. You can download it here and practice along with my tutorial if you want.
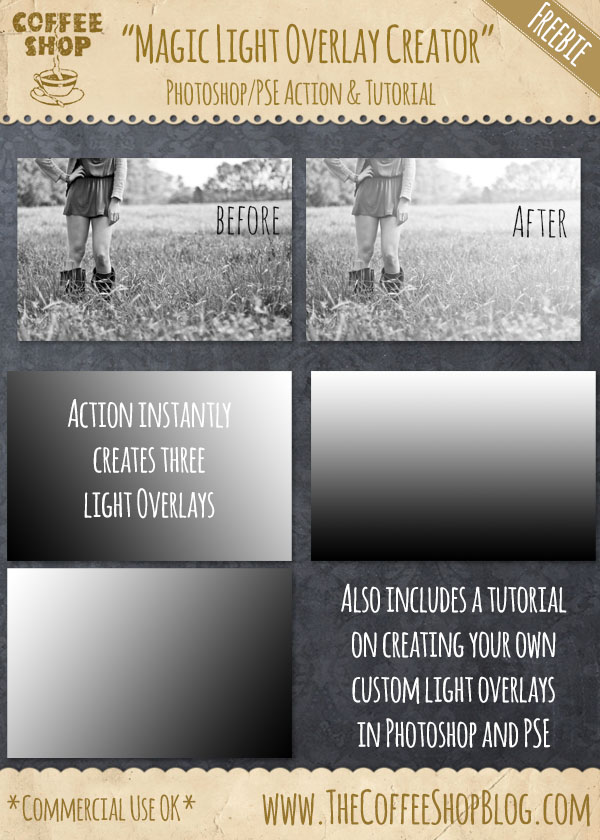
I also have a new action that creates three light overlays that can add lovely light/haze to your images. Click here to download the "Magic Light Overlay Creator" action set.
CoffeeShop Hazy Afternoon Action Tutorial:

After the action finishes running you will have to adjust the white color fill layer's mask to customize the haze for each image.
Click on the Layer Mask of Color Fill 2 (the white layer) to select it.

Click G for the gradient tool (make sure you are using the gradient and not the paint bucket) and select a black to white gradient.

Click on the darkest part of your image and drag your mouse to the lightest area (toward the light). You can continue to drag the gradient on the layer's mask until you are happy with the light placement. You can also adjust the layer's opacity.

Download the free CoffeeShop Hazy Afternoon Photoshop/PSE action.
After the action finishes running you will have to adjust the white color fill layer's mask to customize the haze for each image.
Click on the Layer Mask of Color Fill 2 (the white layer) to select it.
Click G for the gradient tool (make sure you are using the gradient and not the paint bucket) and select a black to white gradient.
Click on the darkest part of your image and drag your mouse to the lightest area (toward the light). You can continue to drag the gradient on the layer's mask until you are happy with the light placement. You can also adjust the layer's opacity.
Download the free CoffeeShop Hazy Afternoon Photoshop/PSE action.


