This is not for someone just starting in photography and still shooting on auto. You will need consistent color and white balance to achieve this look. I also recommend shooting in RAW to avoid uneven processing that can happen when your camera processes Jpeg images.
You WILL need a steady surface, preferably a tripod and a willing subject.
Set your settings on your camera first, depending on the amount of space being covered in the image you will need to set your f-stop accordingly so that when the focal point changes the DOF (depth of field) doesn't cause trouble later on when editing. If you shoot wide open and the focal point is near and to the left, the right back of the image will be OOF (out of focus) and vice-versa, thus the need for an f-stop that will allow for a more realistic focal range. I suggest staying around f7 to ensure realistic results.
Once you have your camera settings in place, then you will put your camera on the steady surface.
Pose your subject and make sure they are in focus, release shutter.
Move subject, focus, release shutter.
Repeat until you have the amount of poses/frames you desire for your composite image.
In Photoshop open your first RAW image and make any adjustments, make sure to write them down so you can apply the same settings to each image in the composite.
You will need to add a layer mask to each layer, in Photoshop that is the little icon at the bottom of your layer palette that looks like a camera. In PSE you can use the action from the CoffeeShop to add your layer masks.
Then make sure your foreground color is set to black and your layer mask is selected. Grab a soft brush and you will mask out part of the previous layer to reveal the images. You can do it this way or the opposite with inverted layer masks and a white brush, it is all up to your preferences on which way you do it.
Then begin your masking.
Once you've finished your masking flatten the image and edit to taste.
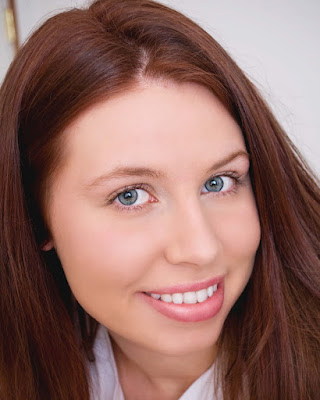
Meet Morgan! I am from a small town in southern Texas, but now live in central Texas, Fort Hood/Killeen area to be more specific. I am a stay-at-home mom and do photography in my spare time. I am married to a wonderful man that I was lucky enough to meet and be able to spend my life with. We have two beautiful children, Payton 4 years old & Amelia 1 year old. The thing I love the most about photography is that you can take an intangible moment in time and make it last forever. I don't have any formal training, I just learn from experimentation and research.
Website
Blog
Flickr


