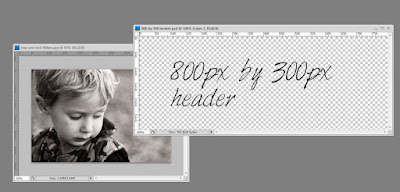
There are times you want to force your images to fit certain spaces that aren't your standard 4x6 ratio. For example, I wanted to use the image above in a header, but if I tried to fit it in a long rectangle, once I cropped it down to taste I would have an excess of white space. Luckily with the magic of Photoshop or Photoshop Elements, there is a very simple fix. :-)
If your image has extra space on the side, especially space that is "out of focus", you can stretch it!

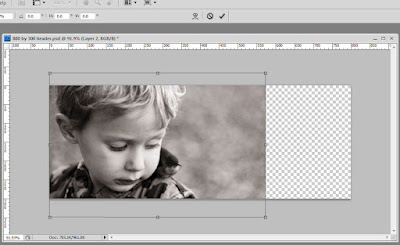
For this tutorial I wanted to make a 800px by 300px header. I dragged and dropped my image on that header, clicked Ctrl-T and free transformed the image to taste (see below).
As you can tell I have a lot of space that is not being used. Luckily I took this image with one of my favorite lenses, the Canon EF 50mm f/1.8 II

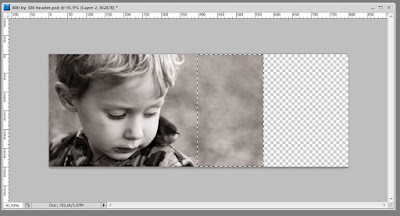
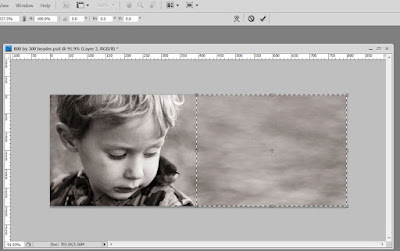
Simply select the area (I used the rectangular marquee tool, M) you wish to stretch on the image layer, and Ctrl-T (free transform) the selected area and stretch it out. You can do this on any side of the image, as long as you have a simple background. Make sure you don't include body parts in your selection or you might get a pretty interesting mutated effect!
 As you can see in the image below, my photo fits the space and I don't have any more "white" space. Pretty neat trick, right?
 Hope this tutorial helps you stretch your images!


