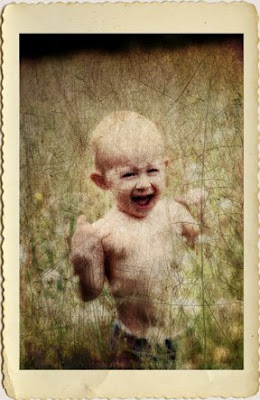

I was editing some wedding photos and since I really love the vintage look I decided to turn one of them into a vintage wedding photo. I wanted this image to look as if it had been up in a dusty broken cardboard box in the attic for over a hundred years, and it is yellowed and scratched from improper storage and handling. I left the colors a bit vivid however since this is about being creative and not realistic! This technique can be used to "age" any image including landscapes or portraits.

1. Find a wedding photo. Or get married, [...] have your wedding photographed, then use one of your own images!
2. Run the CoffeeShop Orton Effect action on the image. You could also run the Vanilla Glaze action from the CoffeeShop Sweet Bakery Glazes II (this is the basic Orton Effect) or follow the tutorial HERE.
3. Flatten the image.
4. The Layer Pane image above shows steps 4-6. Add a black to white gradient map layer and lower the opacity to 30% or so. This mutes the bold colors of the Orton.
5. Add your vintage texture. I used Jaiel's from Flickr. I put this layer into multiply blending mode. If you are new to using textures, I have a tutorial .
6. Add your scratched texture. I used Paul Grand's from Flickr. I put this layer into overlay blending mode at 40%.
7. Flatten the image.
8. I wanted to brighten the faces. I first Ctrl-J the image to copy the background, then on that copy I went to Filters, Render, Lighting Effects and selected the Omni light and moved it over the couple's faces. This lightened their faces but darkened the rest of the image. I then lowered the layer opacity to 40%.
9. Flatten, save, and enjoy!


cant wait to use these ones Rita. Many thanks
ReplyDeletehave sent you a butterfly award for your blog. details of it are on mine.
;)
tiff
Hi! i really like the actions I've used of yours in the past, and am SO thankful for freebies that can do SO much! I used your link to flikr for textures, and liked what i saw, but i don't know how to download it?? is there a button i'm missing? i even created a flikr account, thinking that was why I couldn't find the download button. i'd appreciate any help.
ReplyDeleteLayer masks would come in really handy as well to add subtle textures. I have tutorial links from a previous post:White Reveals, Black Conceals
ReplyDeleteI think I may download one of those to try your tutorial. I have tried applying the textures and effects on PS Elements but it won't allow me to use them. I'm not at all tech savvy so I gave up. But I like some of these looks. Maybe if I download a few free textures my PSE might let me use them. I'll give it a try in the next day or two and let you know how I make out.
ReplyDelete