


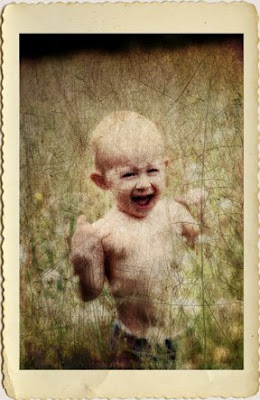
I was editing some wedding photos and since I really love the vintage look I decided to turn one of them into a vintage wedding photo. I wanted this image to look as if it had been up in a dusty broken cardboard box in the attic for over a hundred years, and it is yellowed and scratched from improper storage and handling. I left the colors a bit vivid however since this is about being creative and not realistic! This technique can be used to "age" any image including landscapes or portraits.
1. Find a wedding photo. Or get married, [...] have your wedding photographed, then use one of your own images!
2. Run the CoffeeShop Orton Effect action on the image. You could also run the Vanilla Glaze action from the CoffeeShop Sweet Bakery Glazes II (this is the basic Orton Effect) or follow the tutorial HERE.
3. Flatten the image.
4. The Layer Pane image above shows steps 4-6. Add a black to white gradient map layer and lower the opacity to 30% or so. This mutes the bold colors of the Orton.
5. Add your vintage texture. I used Jaiel's from Flickr. I put this layer into multiply blending mode. If you are new to using textures, I have a tutorial .
6. Add your scratched texture. I used Paul Grand's from Flickr. I put this layer into overlay blending mode at 40%.
7. Flatten the image.
8. I wanted to brighten the faces. I first Ctrl-J the image to copy the background, then on that copy I went to Filters, Render, Lighting Effects and selected the Omni light and moved it over the couple's faces. This lightened their faces but darkened the rest of the image. I then lowered the layer opacity to 40%.
9. Flatten, save, and enjoy!


