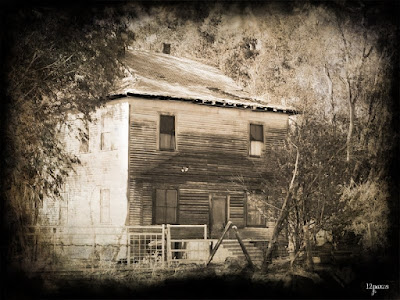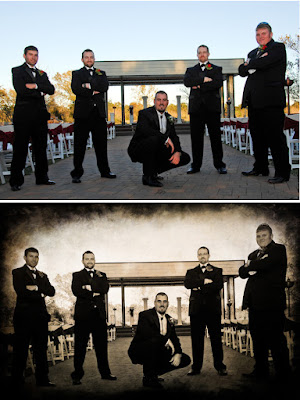
The two images below are from Michele, a CoffeeShop Reader.
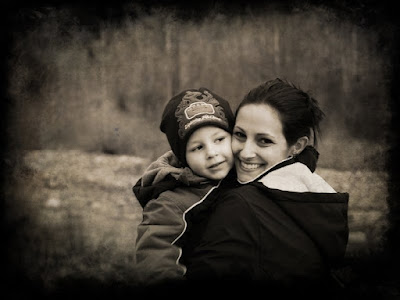
I love creating the grunge effect on images. It is really easy and there are so many free textures out there. Do a search at Flickr and Deviantart just to get started. This photo of a groom and his best men was just begging to have some dramatic enhancements.
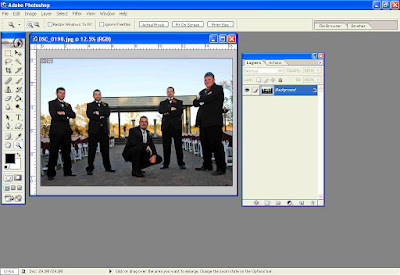 First, open the flattened image [...] you want to "grunge " up. To see my tutorial images larger, just click on them.
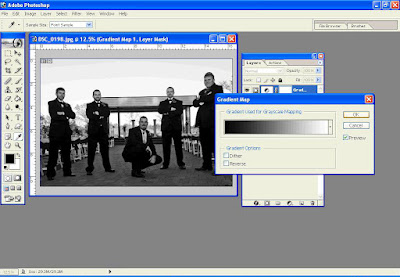 I just added a black to white gradient map adjustment layer to turn it B&W.
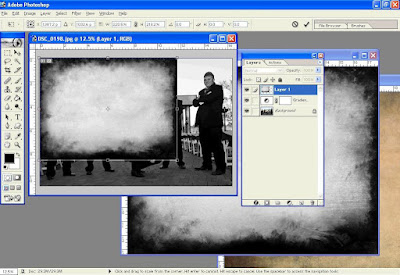 Then I opened up the Grunge Frame Texture . I dragged it over on top of my image using the move tool, and then Ctrl-T to free transform it to fit over my entire image.
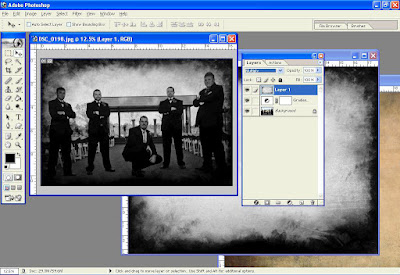 I then put this layer into Multiply mode.
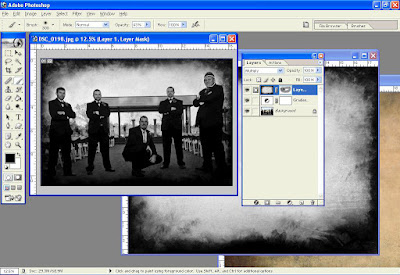 I did not want this grunge frame obscuring the faces in this portrait, so I added a layer mask (if you have Photoshop Elements you can download my free layer mask action or follow my layer mask tutorial ) and with this layer mask selected, I used a soft low opacity black brush to paint on the image where I wanted to remove the grunge. In this case I wanted it removed from their faces. You can also use the erasure tool on the texture, but I prefer using a layer mask so I can make changes easily later without having to undo future enhancements.
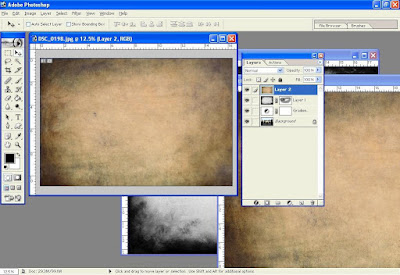 I opened my second texture. This texture is from Ghostbones (who is changing his name on Flickr, will keep you updated!). Here also is a similar one from Pereeerica , Caramel Grunge . Again, I used the move tool to drag it on top of my image, and the Ctrl-T to free transform it to fit over my image.
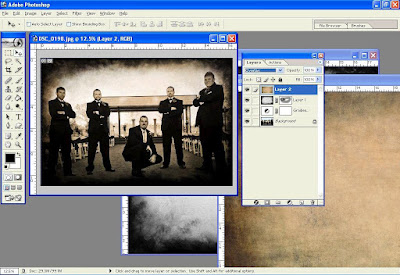 I then used the Overlay blending mode for this layer. You can use soft light, hard light, etc., just play around until you get the effect you like and then adjust the opacity of that layer to taste. I used 100% here.
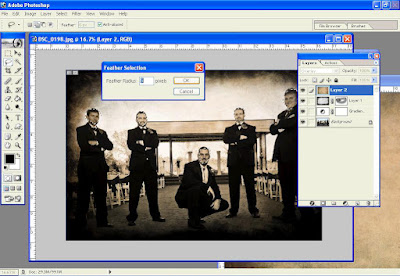 I wanted to remove the texture from their faces, but leave the color of the texture layer intact (so I wouldn't use a layer mask or the erasure), so I used my lasso tool to make a quick and dirty selection around everyone's face (hold down shift when you select more than one area) and then did a slight feather.
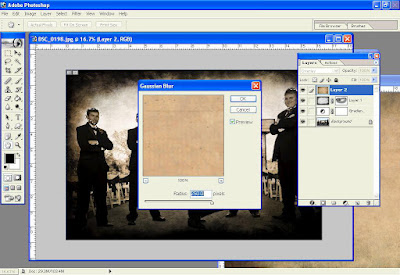 Then I Gaussian blurred these selections (set at maximum). This removes any texture but leaves the colors intact. Then Ctrl-D to remove the selection ants from their faces.
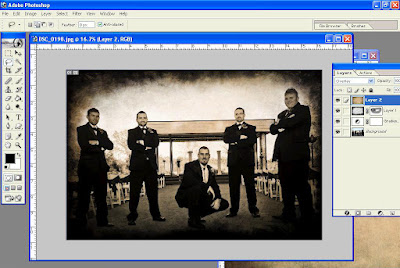 Here it is! Make sure to flatten the image once you are finished. This effect is so easy to achieve and makes quite a dramatic difference to your image. You can even add a third or fourth texture. If you don't like the color of one of your textures, just change it by using a hue/saturation adjustment and either lowering the saturation to remove color or clicking colorize and moving the hue and saturations sliders to taste.

